Learn pro techniques on how to paint hard-to-reach areas like moulding and corners.
Pro Detailing: How to Paint Hard-to-Reach Areas
In professional painting, precision is key. For many projects, particularly those involving intricate moulding and tight corners, achieving sharp, clean lines can be a challenge. This is where thoughtful techniques paired with the right tools make all the difference. With FrogTape®, professional painters have a reliable ally for delivering exceptional results, especially when tackling those hard-to-reach spots.
The Challenges of Moulding and Tight Corners
Moulding and other detailed architectural elements often present unique challenges for painters. These areas require a steady hand and the correct tape application technique to avoid bleed-through and ensure sharp lines. A precise finish on moulding, baseboards or trim highlights your work's quality and sets your services apart.
Common Pain Points
Getting clean lines around curved or uneven surfaces
Preventing paint bleed in tight or tricky spaces
Minimizing touch-ups and rework on intricate details
For professionals, overcoming these challenges is about technique as much as it is about the quality of the tape used. FrogTape, with its exclusive PaintBlock® Technology, has become a trusted choice among pros for handling these demanding applications.
Technique Tips for Mastering Detailing in Hard-to-Reach Areas
1. Properly Prep Walls Before Painting
Preparation is the foundation of any successful painting job. In detailed areas, this step is even more vital. To prep walls before painting, start by cleaning the surfaces thoroughly to remove any dust or grime that could compromise adhesion. Make sure surfaces are dry and smooth—even a slight irregularity can lead to paint bleed or jagged edges.
The Multi-Surface painter's tape is versatile, adhering well to painted trim and other common materials. The Delicate Surface option works best on fresh paint or other fragile surfaces, ensuring the paint won’t lift when removing tape.
3. Applying the Painter's Tape with Precision
Precise application is key for moulding. Start by carefully pressing the tape along the moulding edge, using small sections at a time to maintain control. Press the tape firmly using a plastic putty knife, and run over the area with a damp cloth to activate the PaintBlock Technology. This activation helps form a micro-barrier that keeps paint from seeping under the tape.
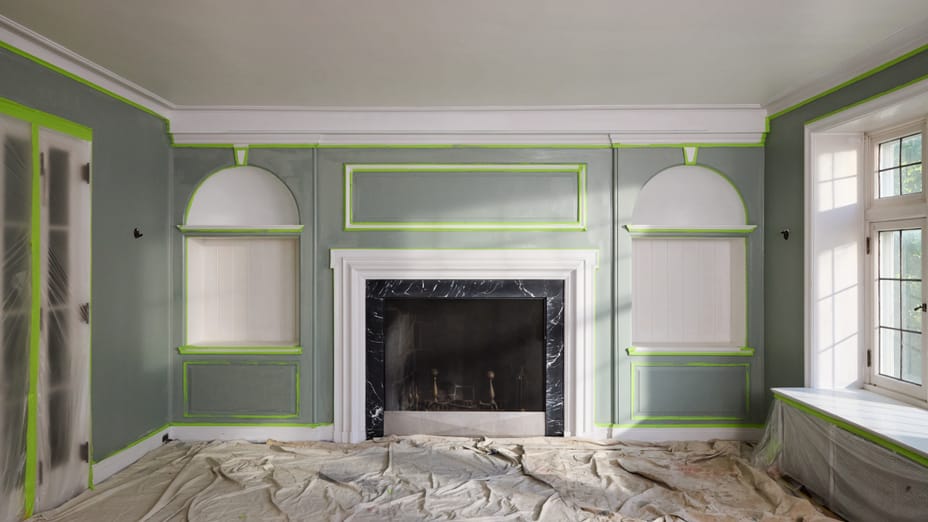
4. Navigating Curves and Tight Corners
Curves and corners can be particularly tricky. In these areas, avoid stretching the tape as it can lead to gaps where paint can seep through. To tape tight corners, start by running the first piece of tape along the baseboard of the wall through the corner and up the perpendicular wall. Burnish the tape firmly to the baseboard with a putty knife. Then cut along the crease with a sharp utility knife, removing the extra tape from the wall. Since the corner is already protected, you can start taping the adjacent baseboard about a half inch away to keep your original line sharp.
For the best results, FrogTape Advanced™ is your ideal choice, as it offers exceptional conformability for curves and ultra-sharp paint lines in even the most challenging areas.
5. Removing the Tape with Care
Timing is everything when removing tape from moulding and tight corners. For optimal results, peel the tape back slowly at a 45-degree angle while the paint is still slightly wet. This method helps prevent peeling or lifting. FrogTape is designed for clean removal, leaving you with a sharp, professional line and minimal touch-up.
A Professional’s Edge with FrogTape
Professional painters know that the quality of the finish is what clients remember. By mastering these techniques, you can achieve results that exceed client expectations and demonstrate your expertise. Using FrogTape helps you achieve clean, precise lines and strengthens your reputation for excellence in detailing work.
With the right approach, painting hard-to-reach areas transforms a challenge into an opportunity to showcase your skill. These techniques andFrogTape's reliability equip you to confidently handle even the most intricate details.
For more painting tips and expert techniques, check out the Rookie Painter's Handbook and elevate your craft with confidence.
Are you on the hunt for an affordable way to update your home’s aesthetic? Look no further – painter’s tape is a versatile tool that can help make your style dreams a reality. Read on for tips for using tape to create shapes, patterns and other on-trend wall designs.
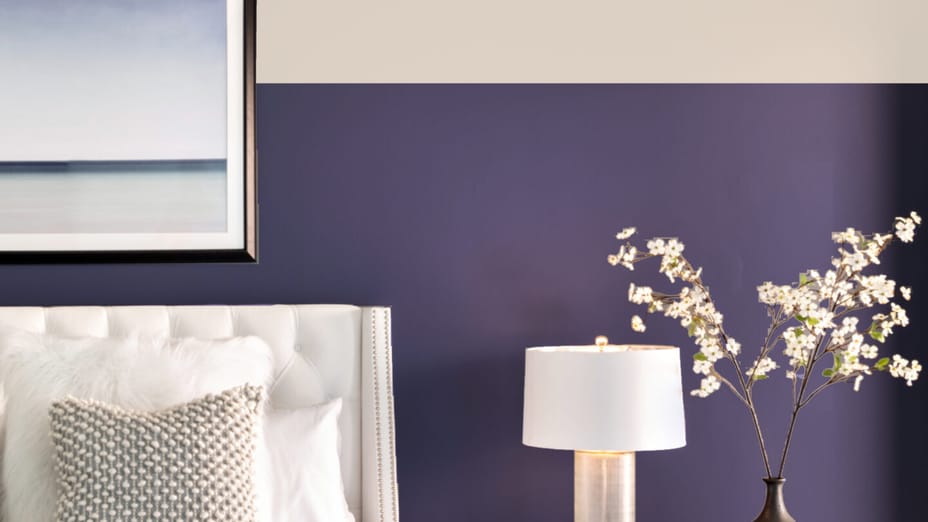
Discover tips for creating two-toned walls that will express your personal style. This piece will help you select colors that will make an impact and provide step-by-step guidance for bringing this project to life in your home.