Techniques
How to Paint Furniture with Painter’s Tape
Painter’s tape isn’t just for walls. Learn tips and tricks for prepping furniture for painting and uncover ideas for your next furniture painting project.
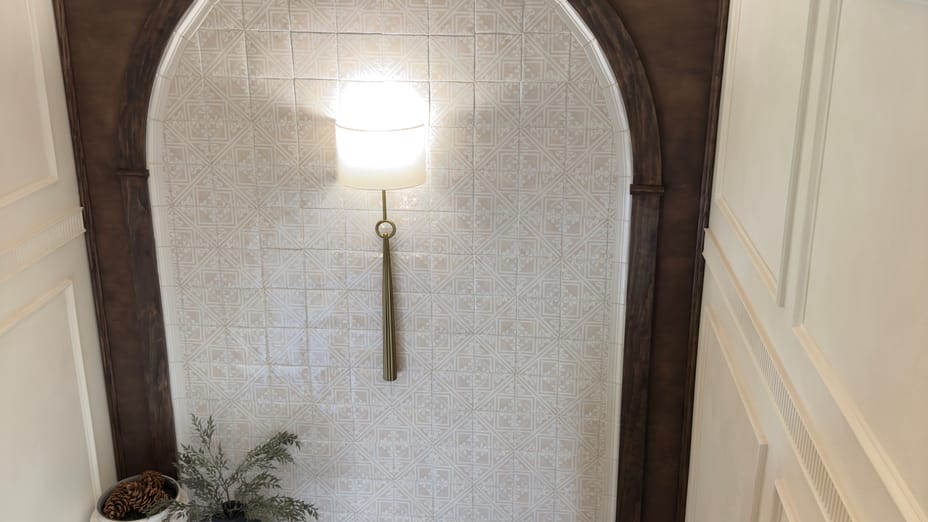
To create a relaxed and sophisticated space, Tori, from Love Letters by Tori, transformed her secondary bathroom by just adding a few fresh coats of paint and some FrogTape®.
Check out her step-by-step project below!
Supplies Needed
Prepare the Surface
Clean the trim thoroughly to remove dust and grime.
Pro Tip: If the existing trim paint is glossy, you can lightly sand it to help the new paint adhere better.
Apply Painter's Tape
Use FrogTape® Multi-Surface Painter's Tape to protect the surfaces that are adjacent to the trim. Press firmly with your finger or a tool to seal the edges.
Pro Tip: FrogTape® Delicate Surface Painter's Tape is perfect for freshly painted walls like mine. Otherwise, use FrogTape® Multi-Surface.
Paint the Trim
Stir the paint thoroughly before starting. Using a paint brush, paint the trim with steady, even strokes. Allow the first coat to dry completely and apply a second coat if needed.
Pro Tip: Use a primer first to achieve a more even finish and better coverage.
Remove Painter's Tape
For best results, remove the green painter's tape while the paint is still wet. Pull the tape off slowly at a 45-degree angle.
Allow to Cure
To wrap up, let the paint cure fully before exposing the trim to heavy use or cleaning.
More ideas like this