
Inspiration
Damage-Free Classic Christmas Décor Ideas Using FrogTape reMOVEables™
Create a warm, traditional holiday atmosphere with classic décor while keeping your walls and surfaces free from damage.
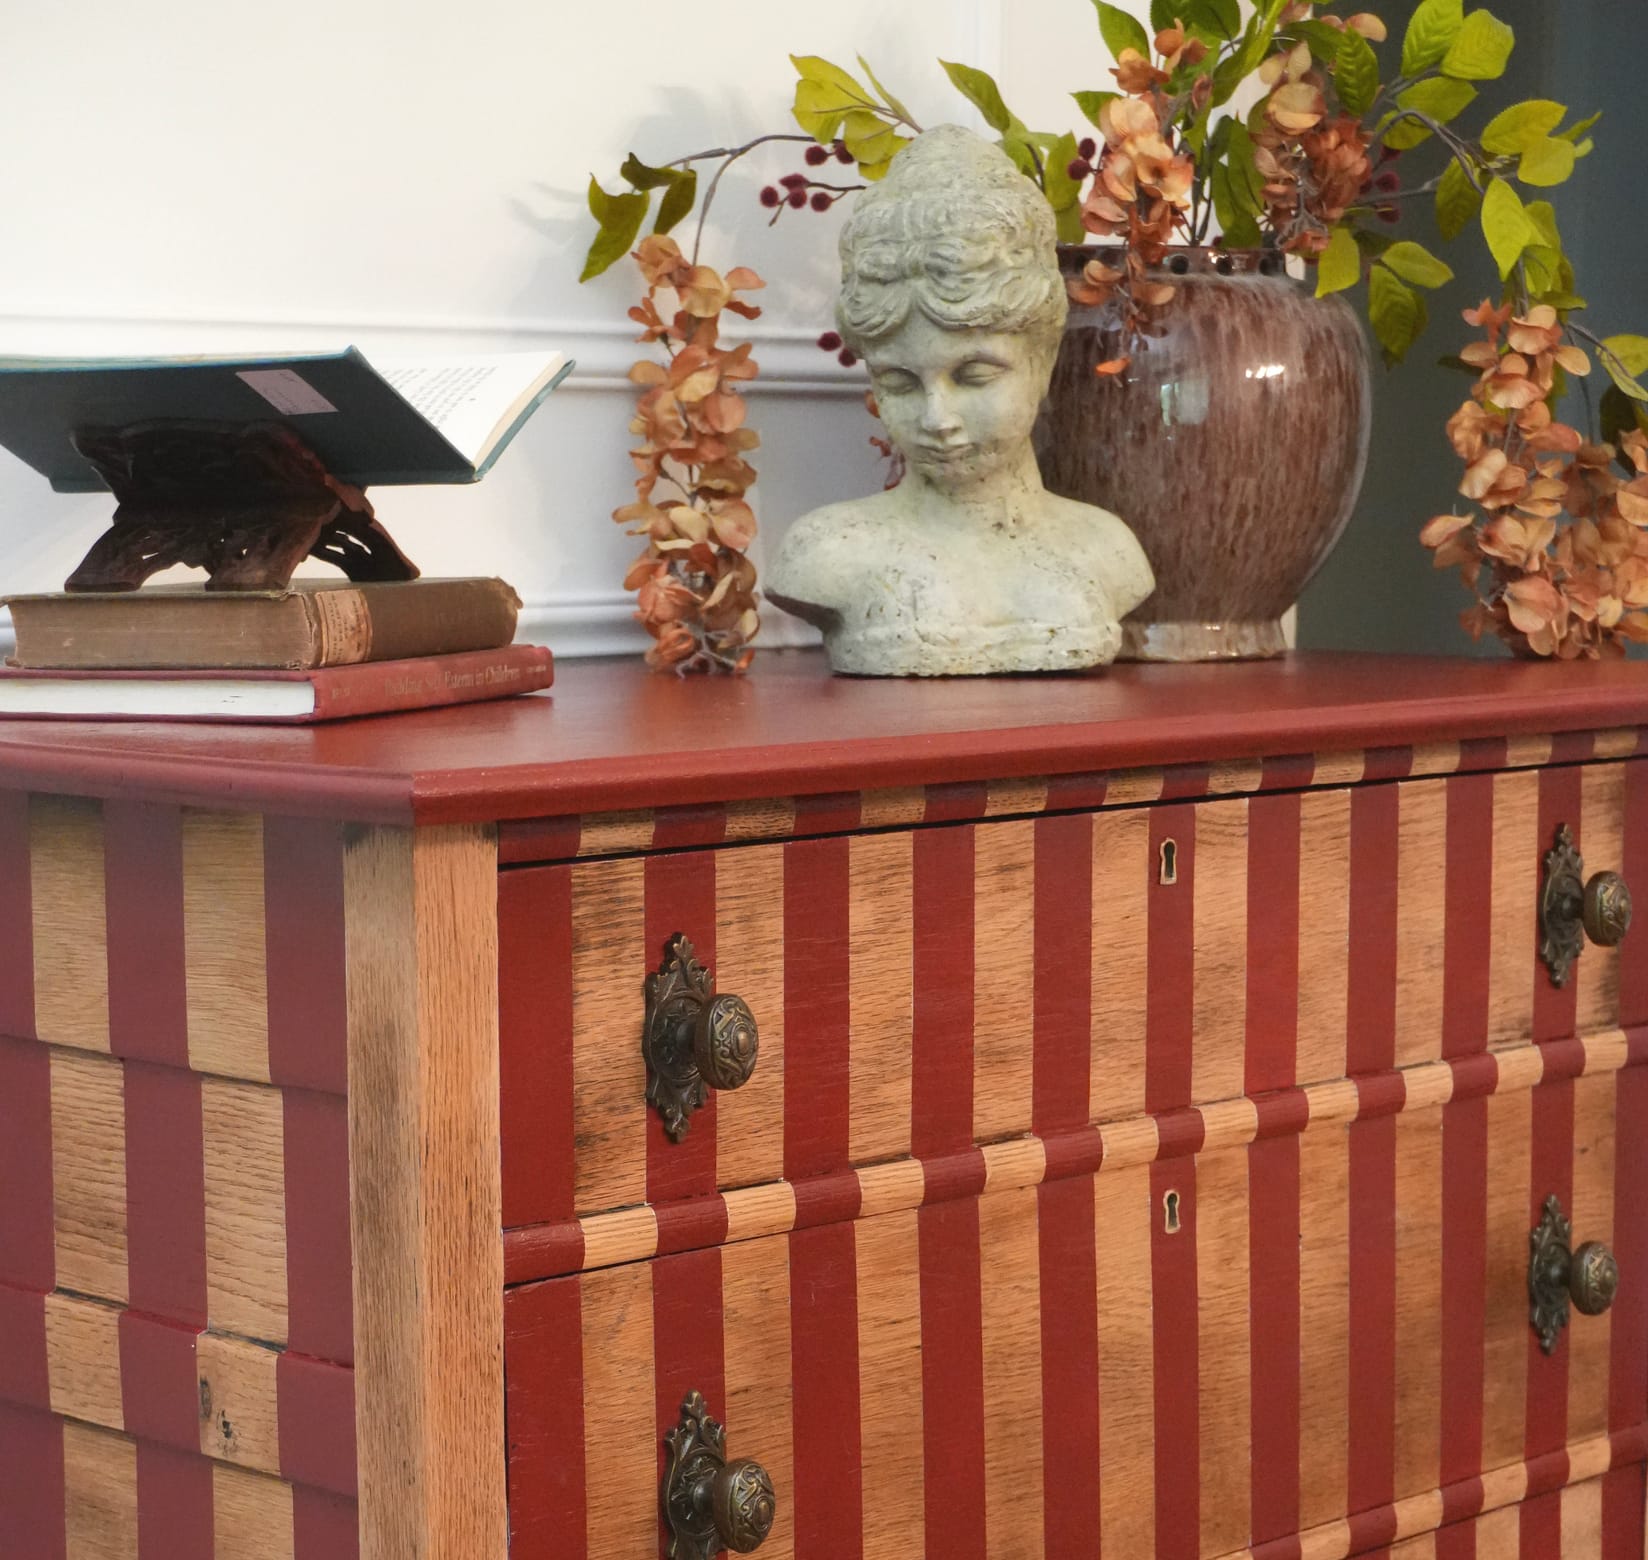
Furniture flipping is a great DIY project since you get to create something unique and one-of-a-kind. For this project, Mailey Elaine from @mailey_elaine turned a beat-up old dresser into a bold, striped show-stopping piece.
Find & Prep the Furniture
To get started, find a solid wood piece. Solid wood offers better quality and holds up better to sanding and paint. For this project, Mailey used a dresser.
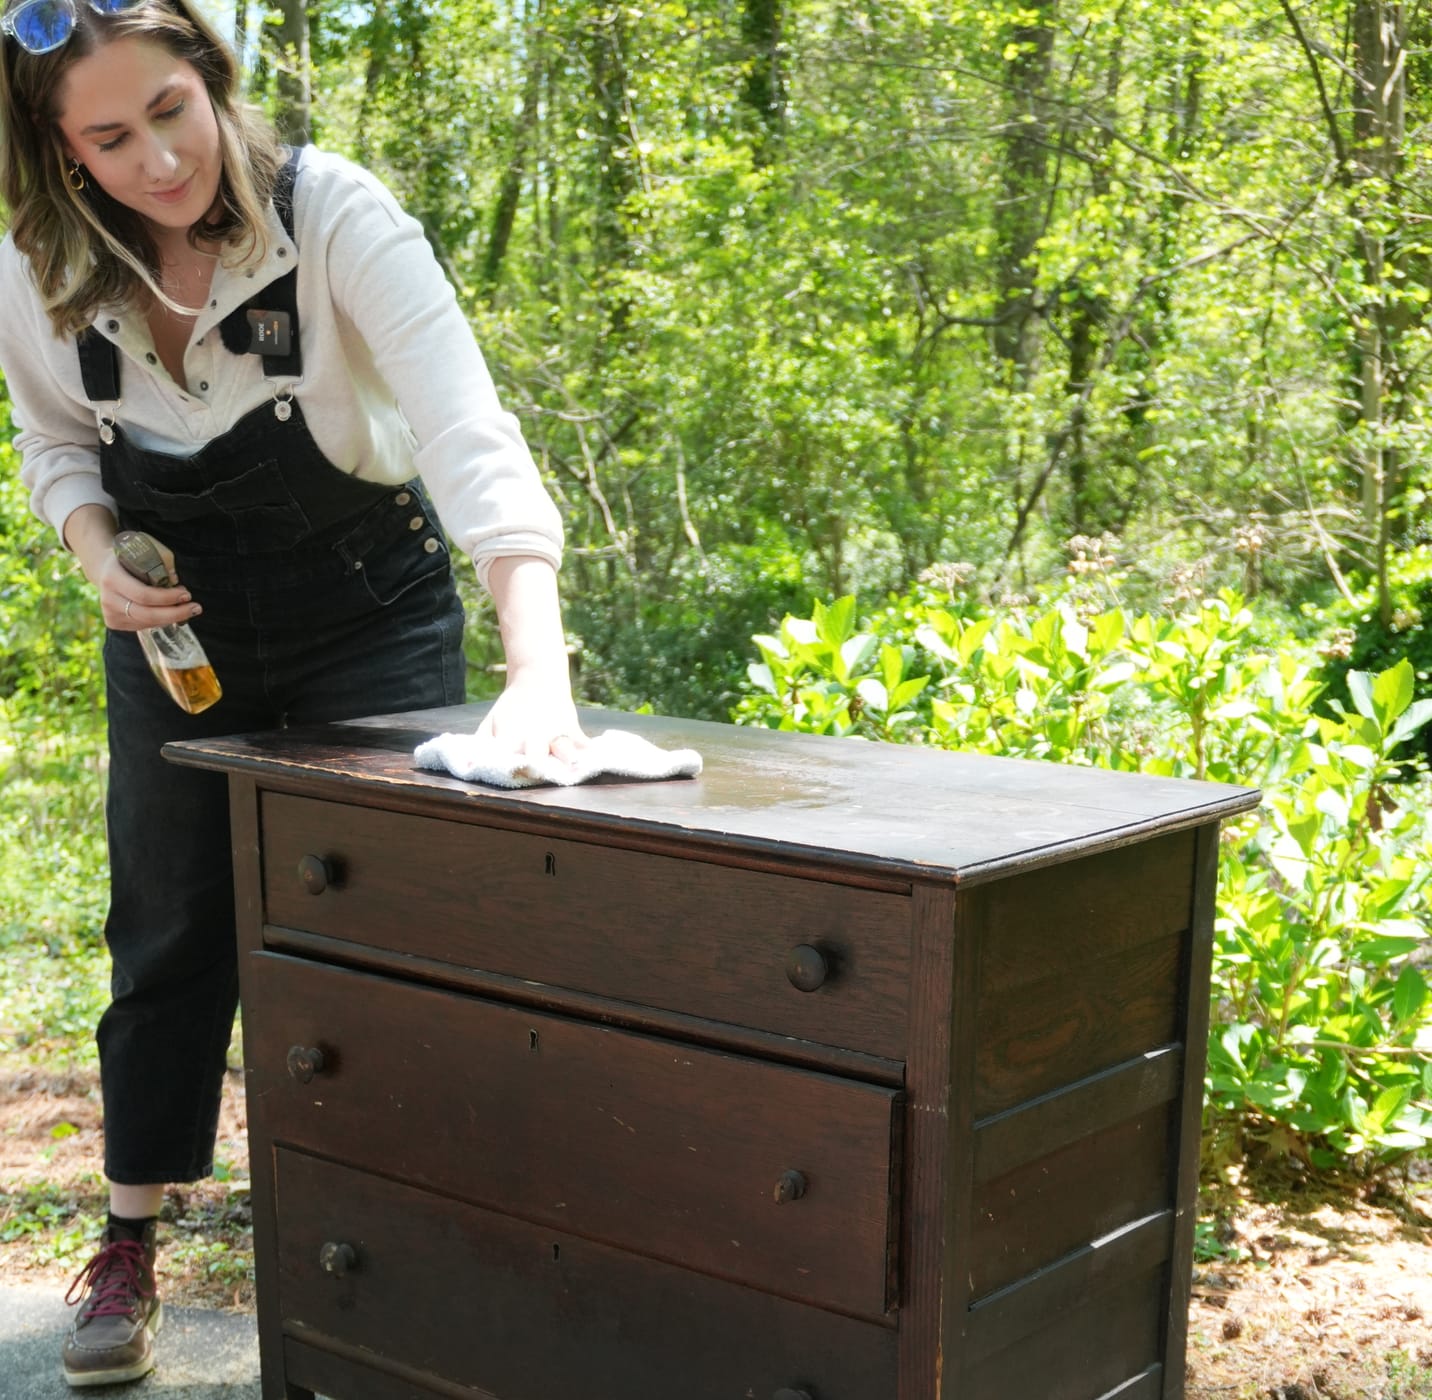
Before anything else, clean and prep your dresser. Remove all hardware, pull out the drawers, wipe down both the inside and outside and inspect for damage.
Sand it Down
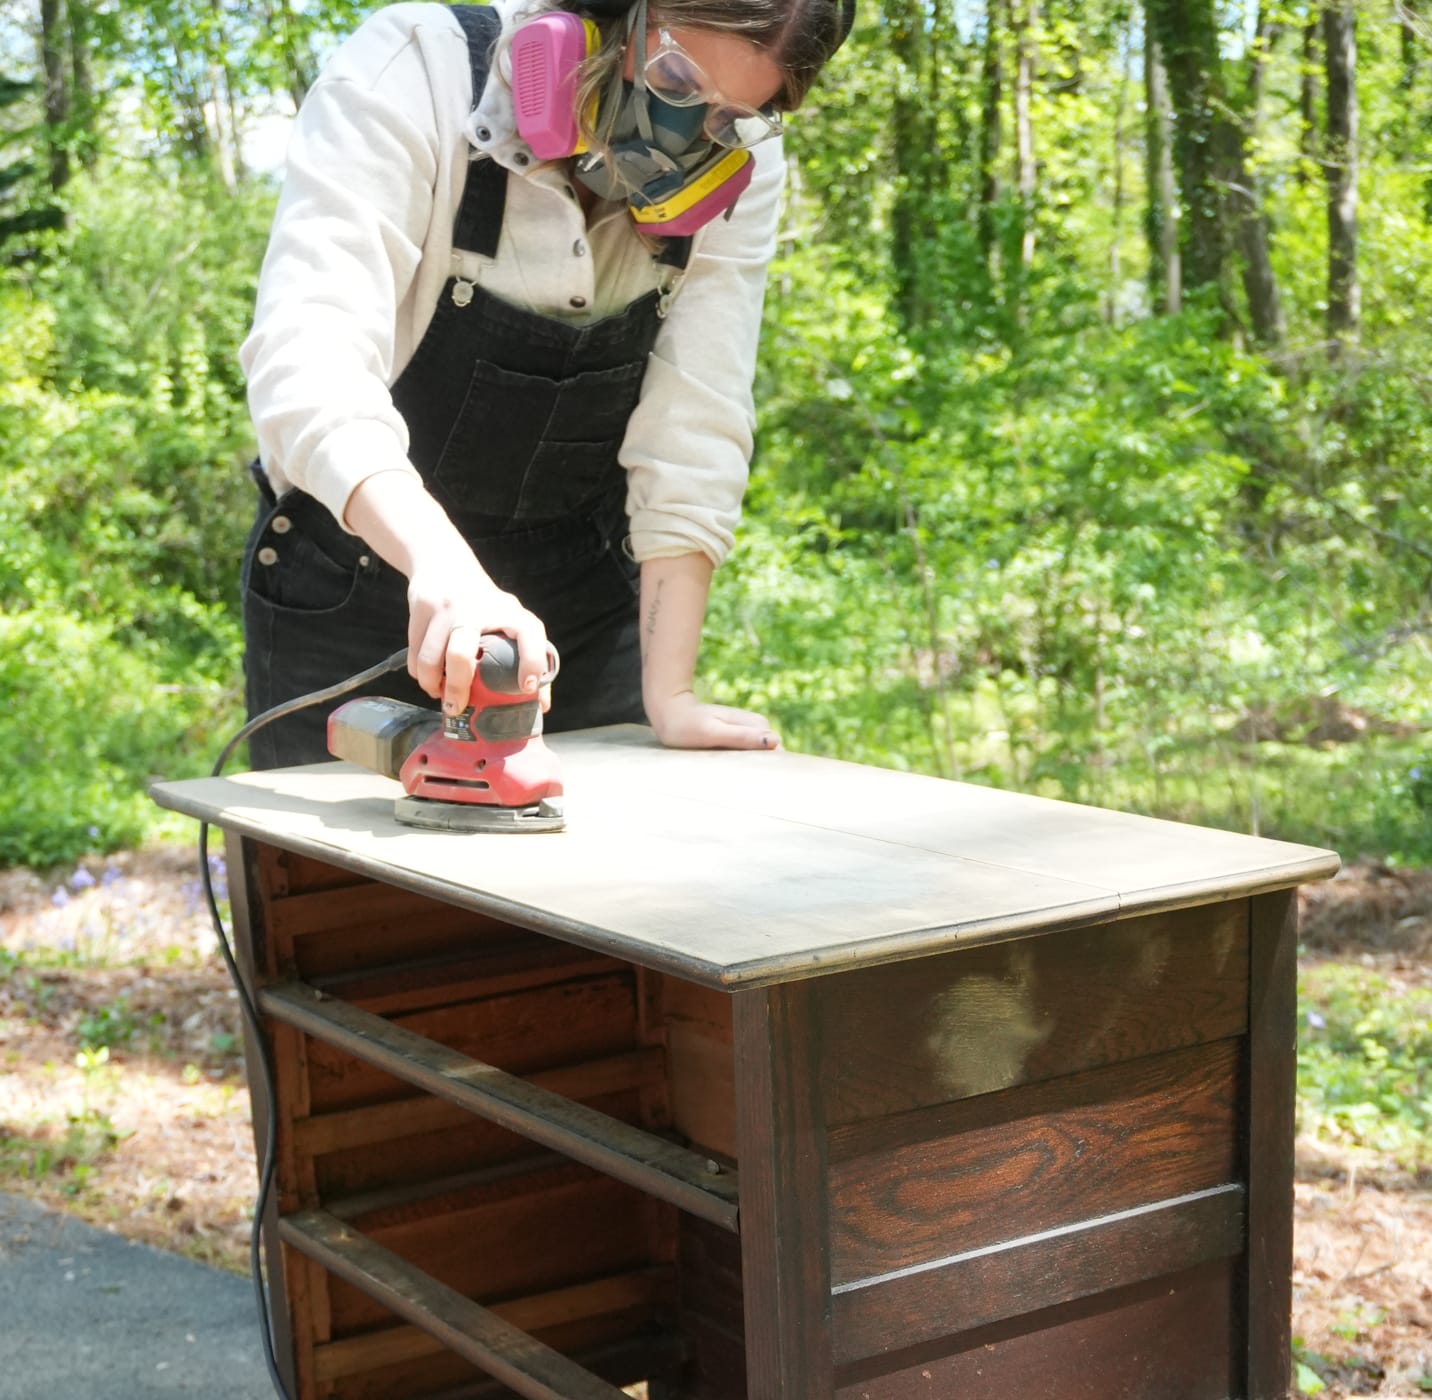
To further prepare your piece, sand it down. Sanding can be the most time-consuming step, but it's crucial for a great finish. Start with 80-grit to remove the old finish quickly and move up to 220-grit for a smoother surface.
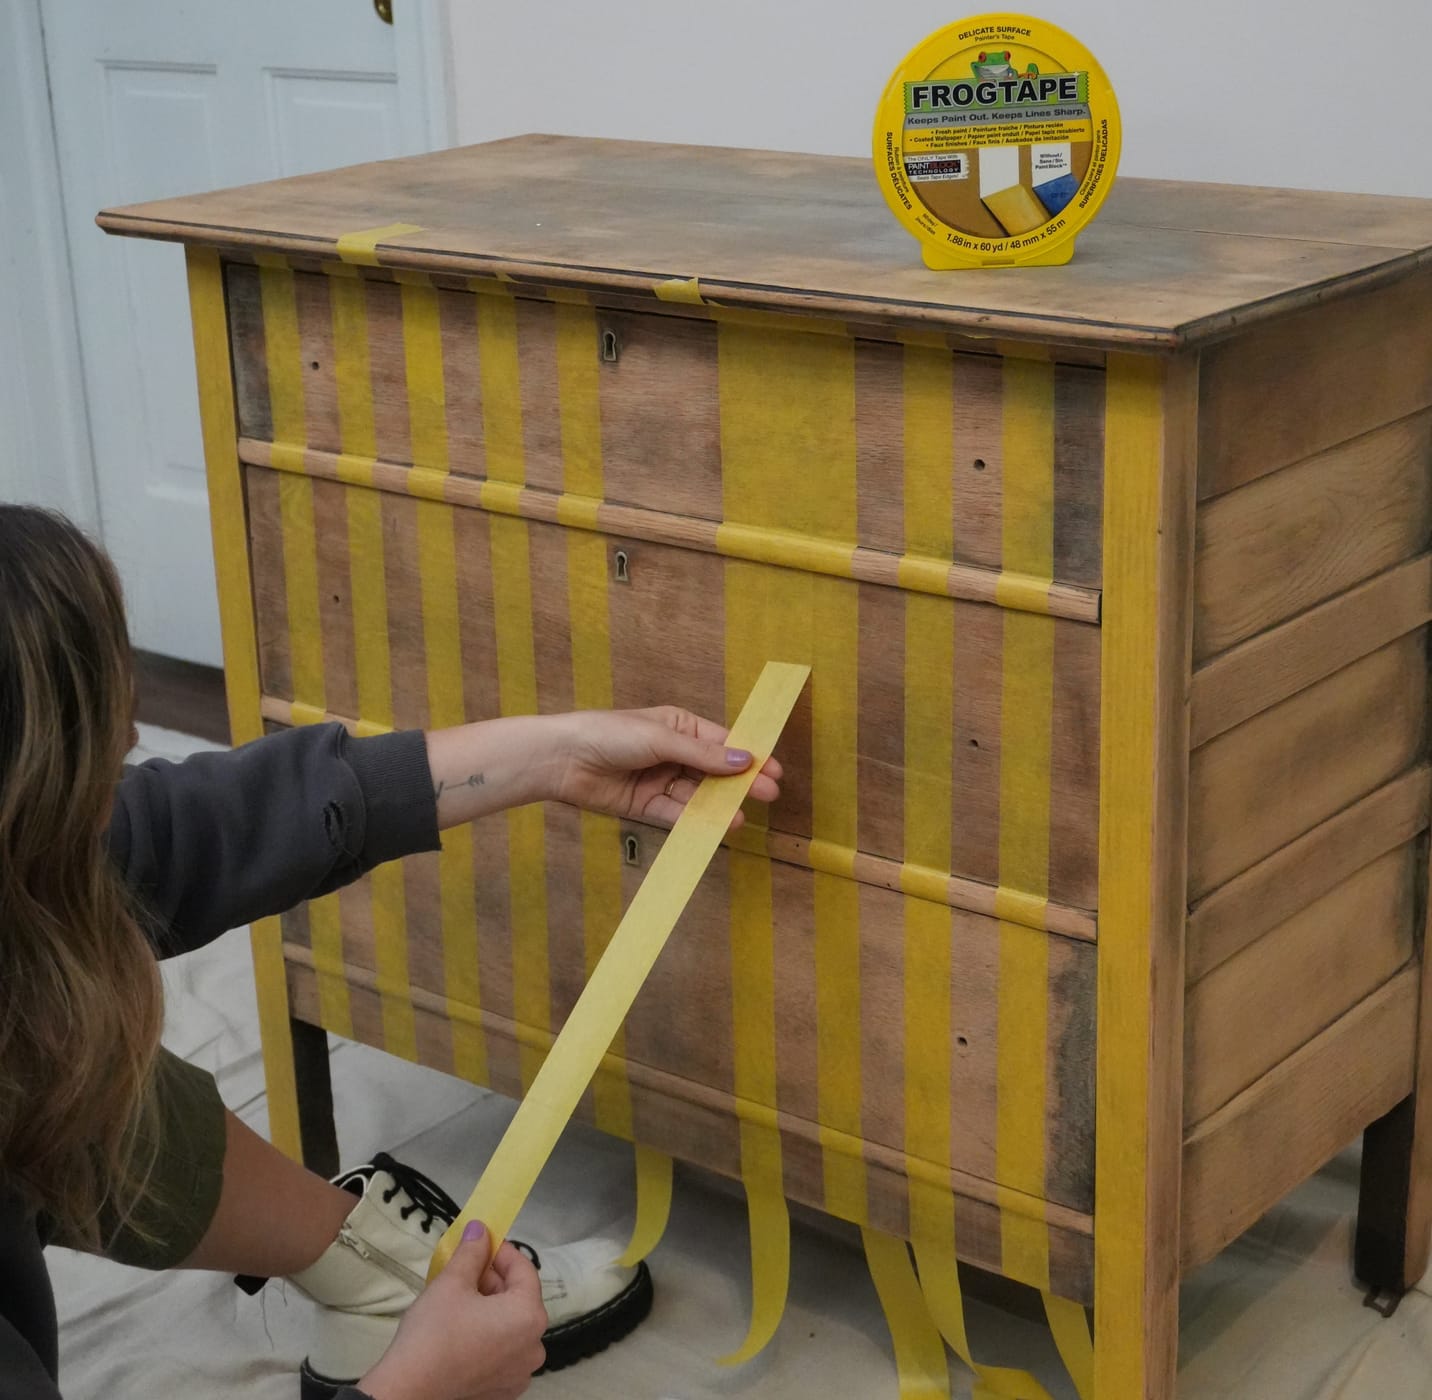
Tape Your Design
Now it’s time for the fun part — the paint design! Using FrogTape® Delicate Surface Painter's Tape, create stripes on the furniture. This painter's tape is made for use on freshly painted surfaces and delicate finishes. For perfect stripes, use pieces of tape as spacers between each stripe, use a level to keep everything straight and press the tape down firmly using a smoothing tool or card to seal the edges.
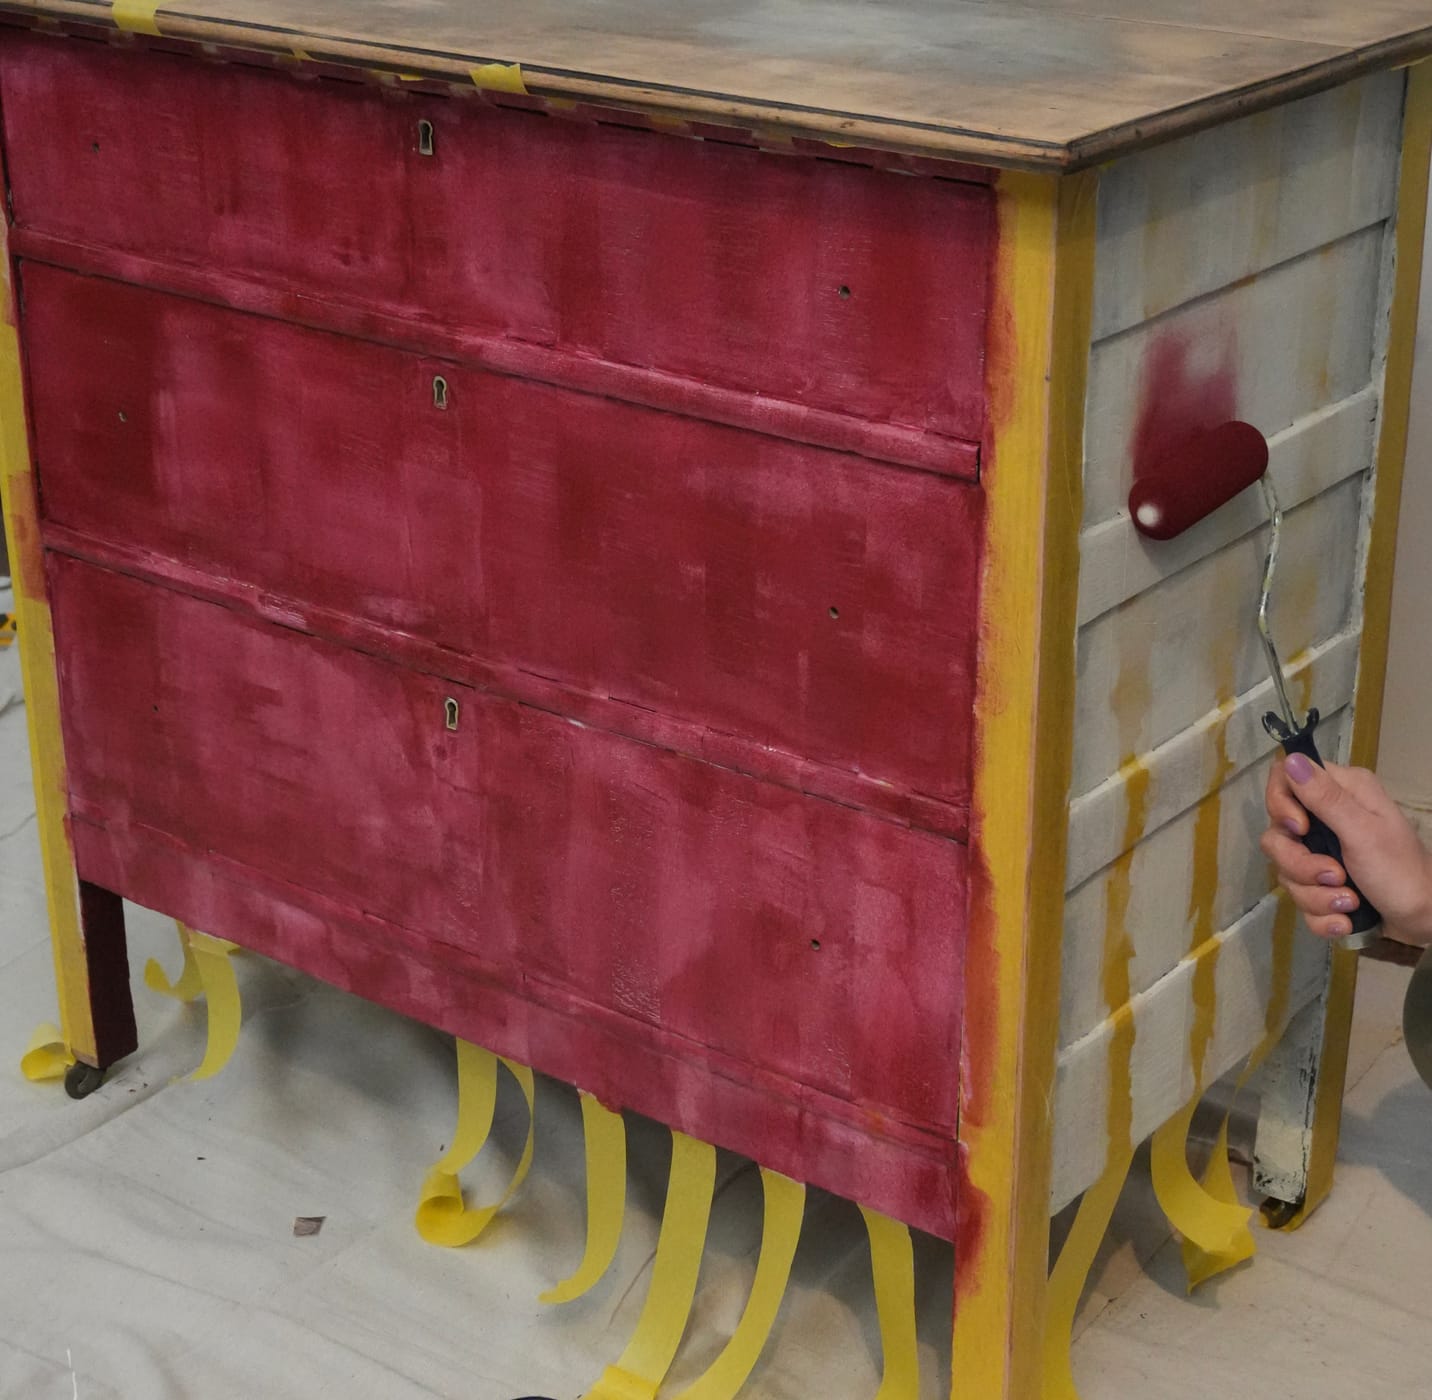
Priming and Painting the Stripes
Before painting, apply a shellac-based primer. It helps paint adhere better and creates a durable finish that resists scratches and stains. Then paint with a color of your choice using a foam roller for a brush-free finish. Mailey used 4 coats of paint for full coverage since she was working with an enamel paint.
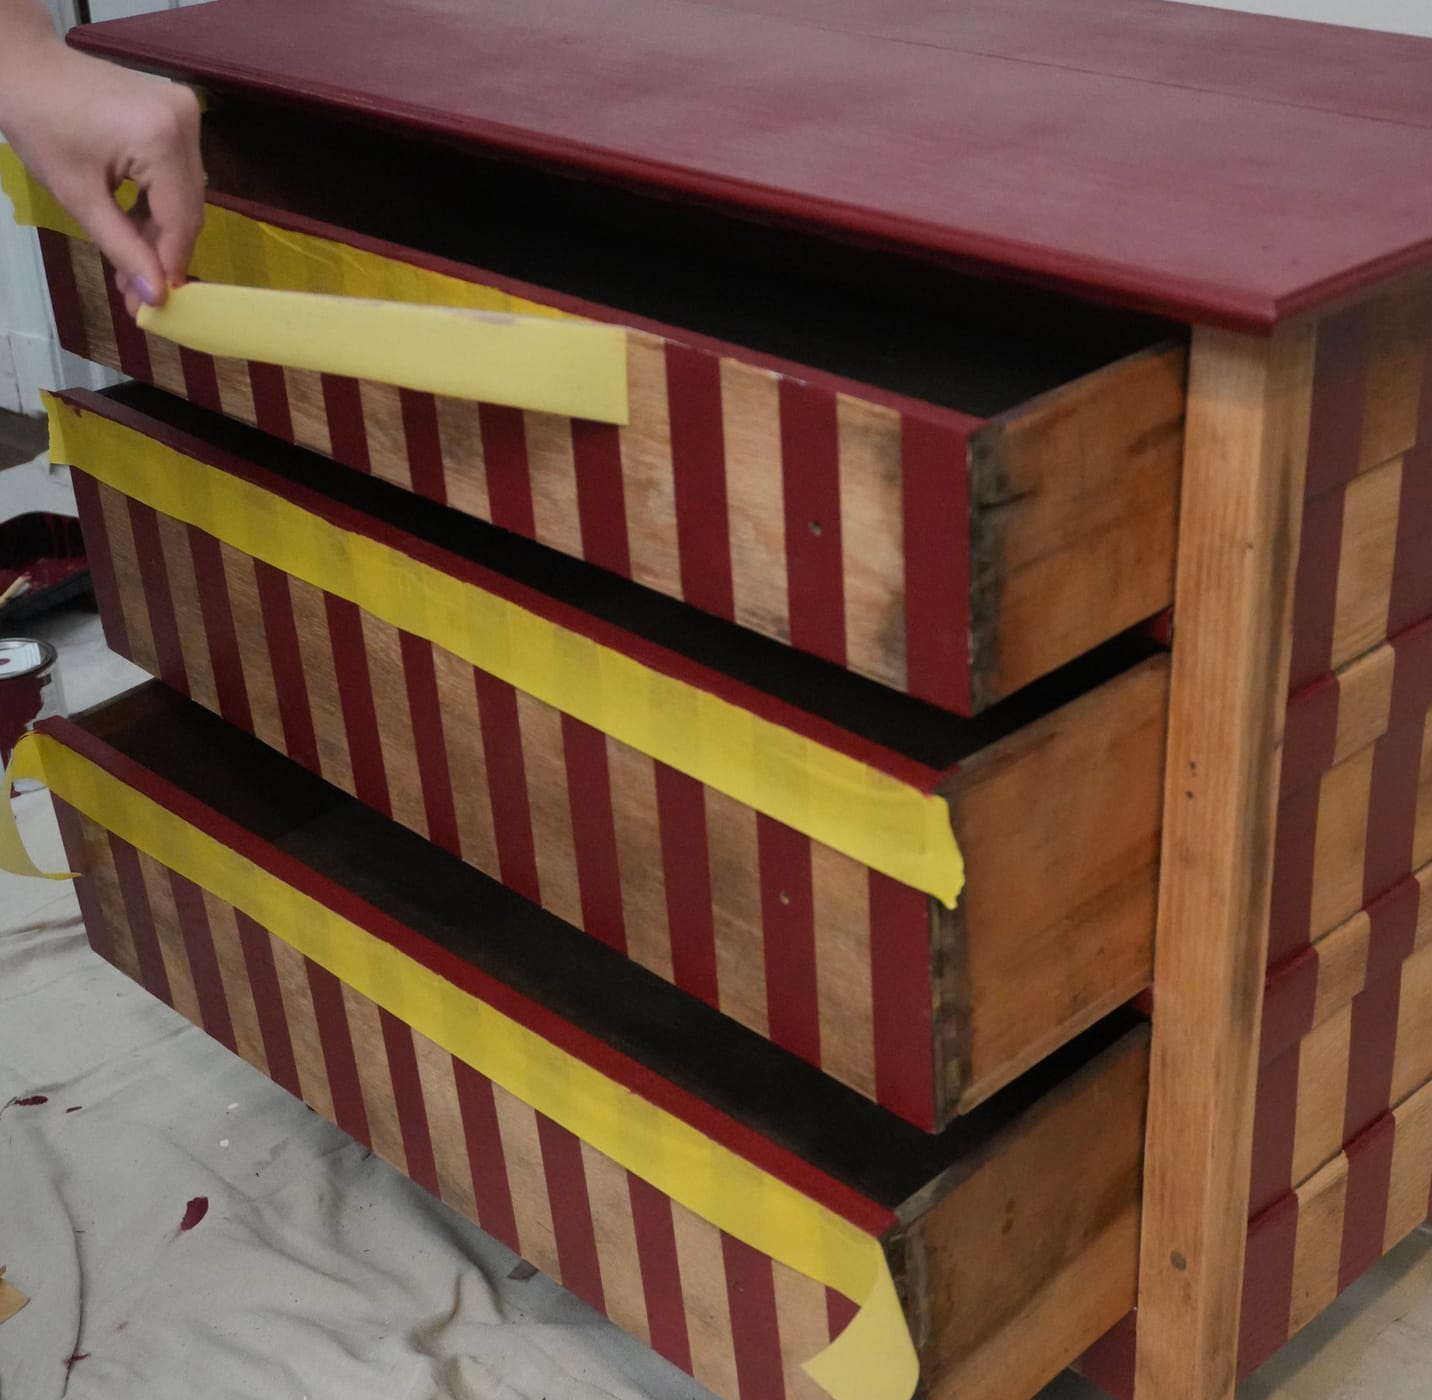
Painting the Top & Drawers
For this optional step, you can paint the top of the dresser and the drawers. To protect the freshly painted stripes below, use the delicate surface painter's tape to create a barrier.
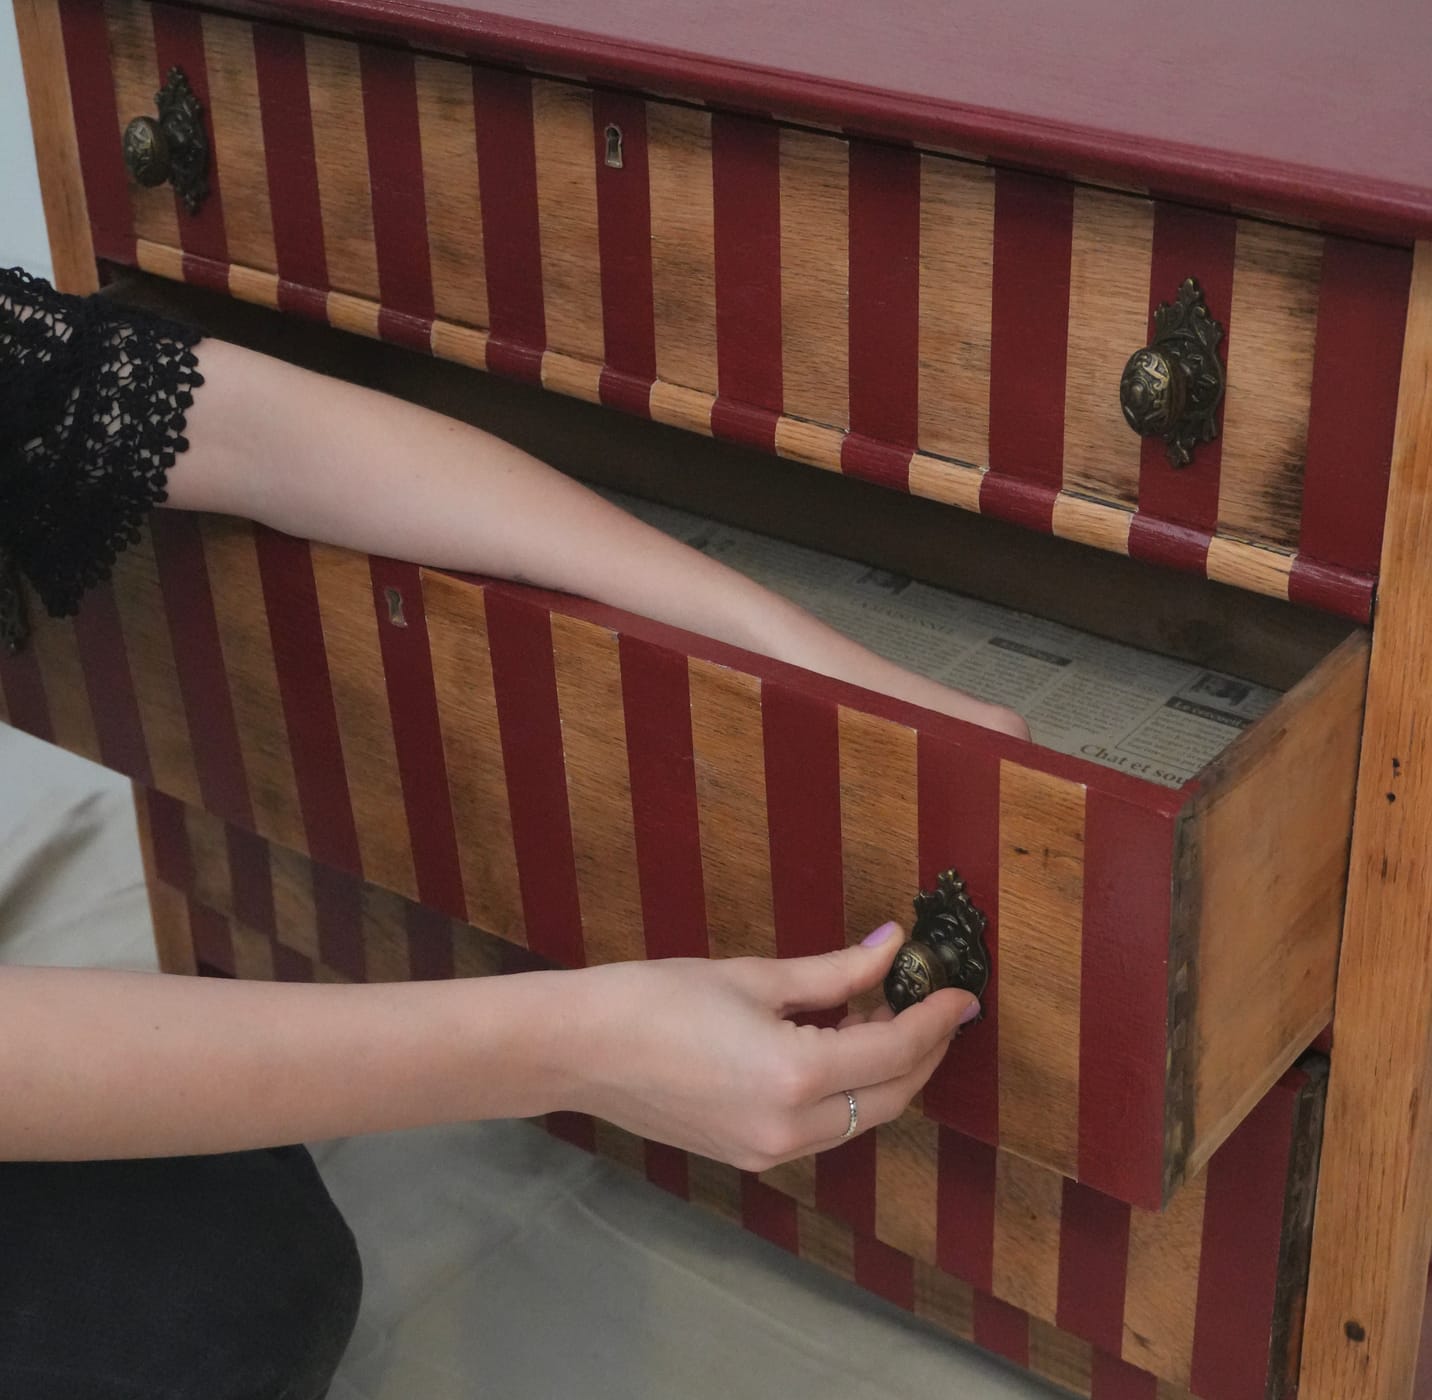
Final Touches
To finish up the piece, Mailey added a glossy topcoat for more protection. A glossy topcoat will make details and colors pop more, along with making it easier to clean. Once the topcoat is dry, add hardware of your choosing. Now, you have officially created your own unique piece of furniture!
More ideas like this