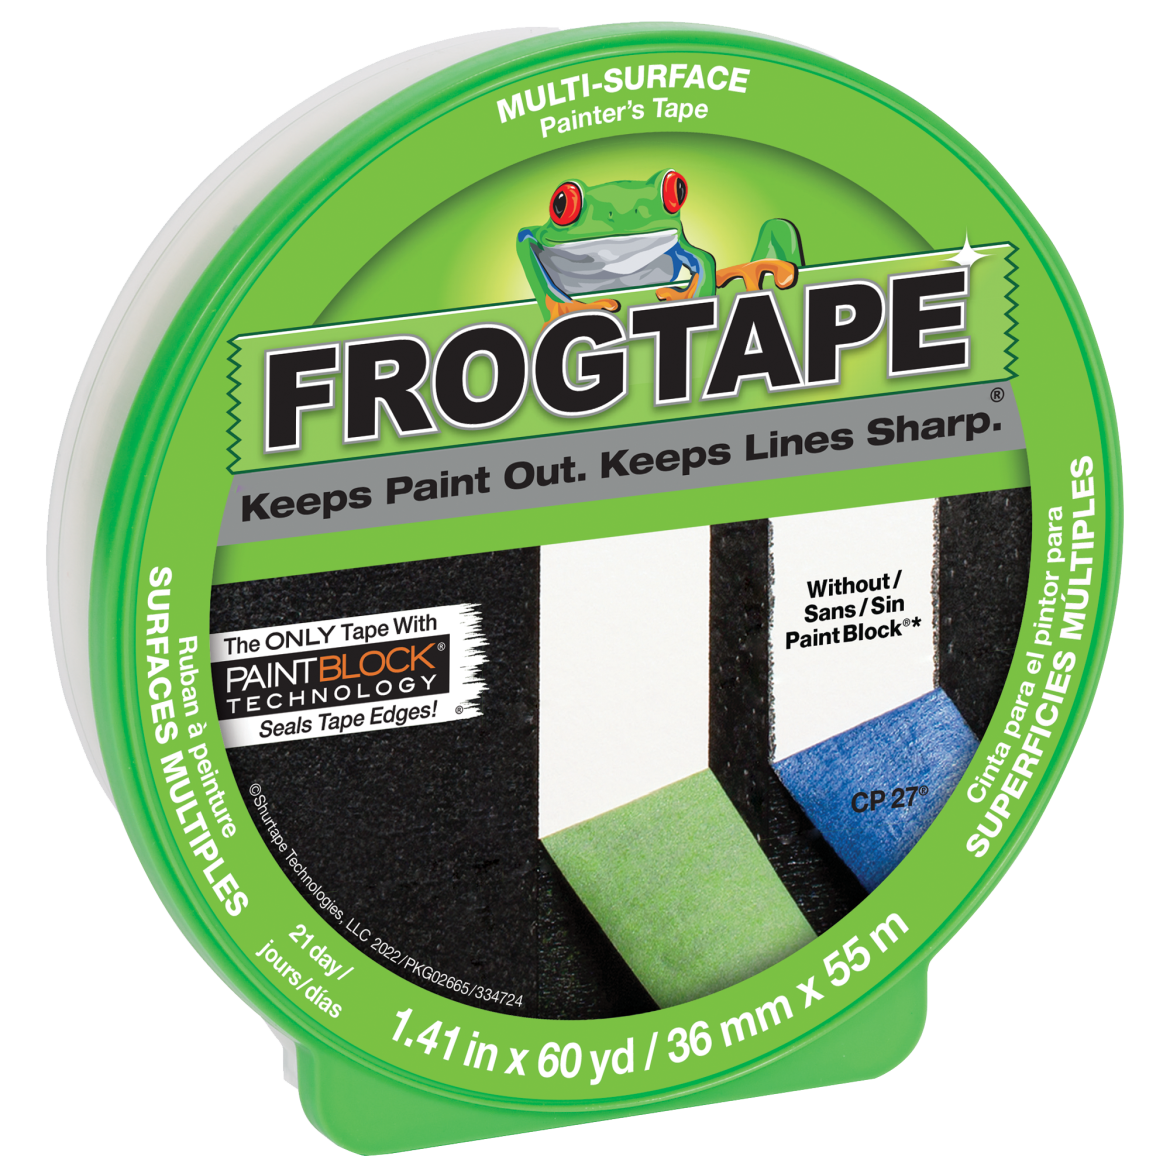
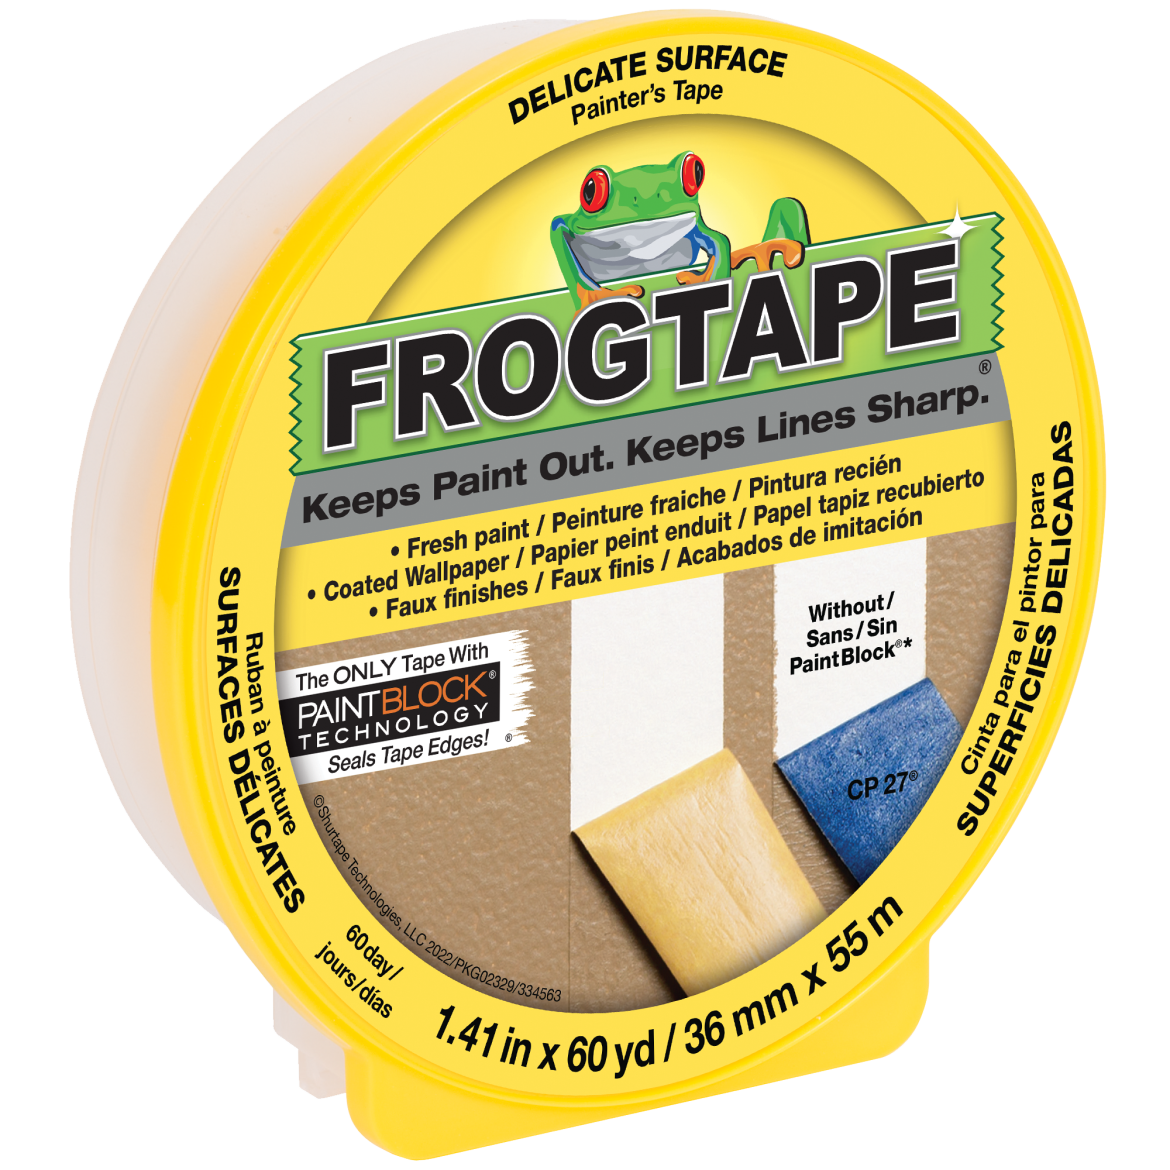
Paint Bleed Protection
PaintBlock® Technology is the innovation that changed painting, delivering super sharp paint lines and professional results.

Choose FrogTape®

Paint Bleed Protection
PaintBlock® Technology is the innovation that changed painting, delivering super sharp paint lines and professional results.

2024
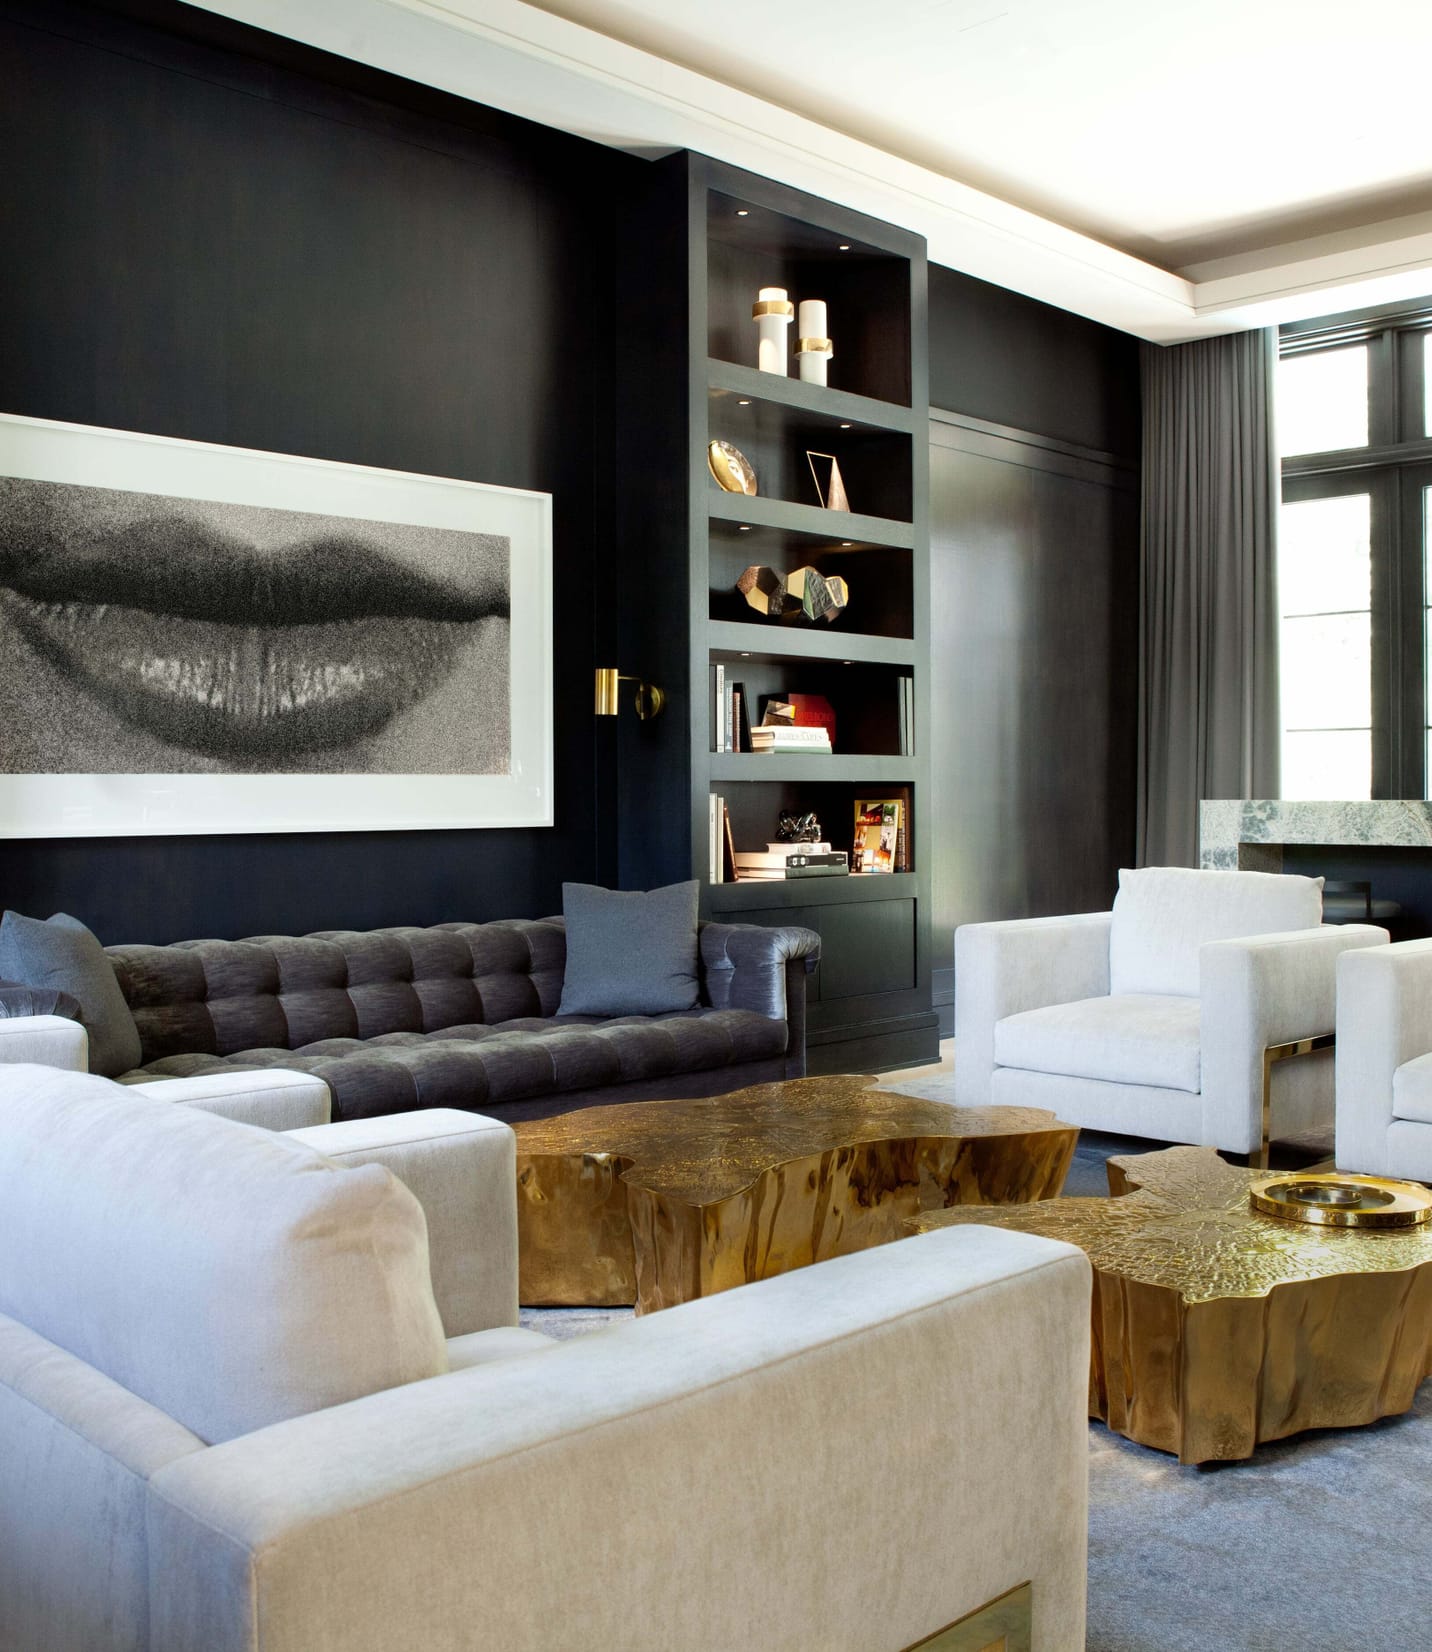
Design Trends
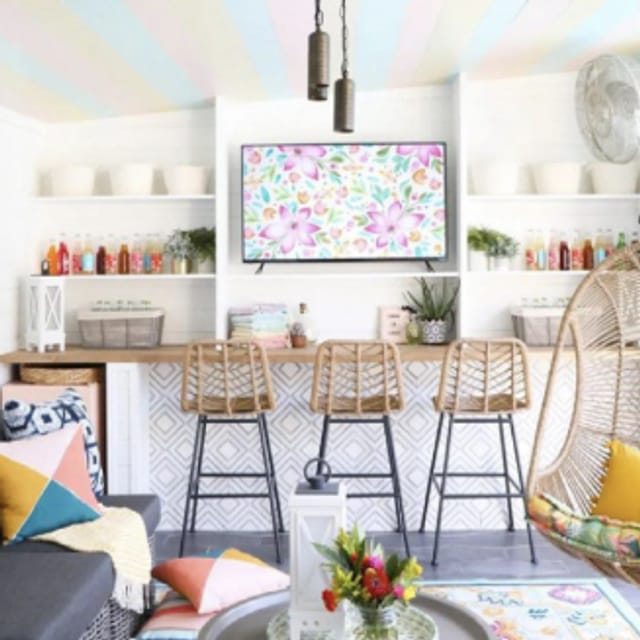
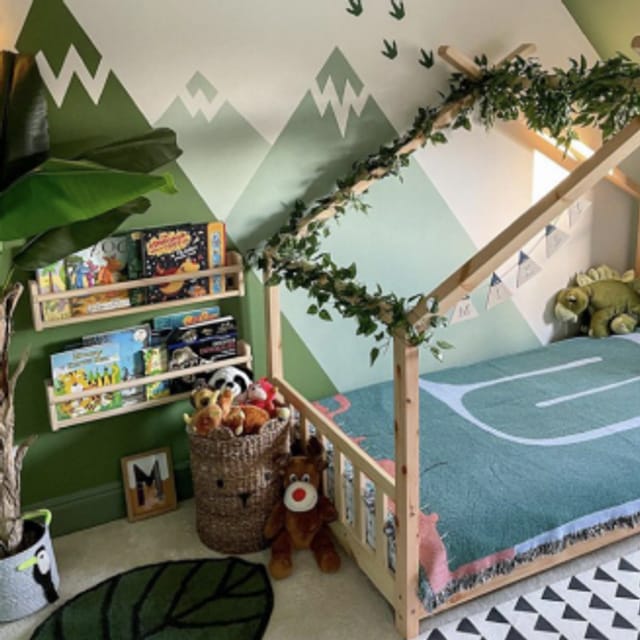
Each year, FrogTape® brand painter’s tape and celebrity interior designer, Taniya Nayak, team up to determine the top interior design trends to inspire DIYers looking for fresh decor ideas.
Applications & Stories
Painter's Tape for Every Job

You dream it up and we’ll help bring it to life. From products to how-tos and inspiring projects, we have you covered from start to finish.

"In the painting business you look for speed and accuracy. FrogTape® has the accuracy I need to do my job. When I go to the paint store for tape, I look for FrogTape. It has the cleanest lines of all the tapes out there."
Keith Meckley, Two Dudes Painting, Lancaster, PA

When it comes to challenging industrial environments, you need a tape that gets the job done right the first time. From performance masking tapes for the transportation, marine and general MRO industries to building envelope solutions, find out about all of our pro products.
Inspiration
Looking for a quick way to refresh your space? Try out one of these 5 home DIY projects that can be completed in one day.
show off your projects
#FrogTape
Have you used FrogTape in your DIY project? Share using #frogtape on Instagram for a chance to be featured!